Please check delivery before you start mounting. Everything has to be complete and in a faultless condition. We are not liable for damages resulting from mounting.
Two installation options – depending on the mailbox model Depending on the model, the mailbox is installed with or without spacers. For some models, spacer sleeves are required to prevent the mail flap from hitting the wall when opened. Please follow the instructions for the respective installation option.
Accessories
The included mounting material is suitable for attaching the mailbox to walls made of concrete, dense natural stone, solid brick, or similar materials. When mounting the mailbox on building facades with composite thermal insulation systems, different mounting material is required. Please be sure to consult your local specialty retailer regarding suitable mounting material.
Included accessories
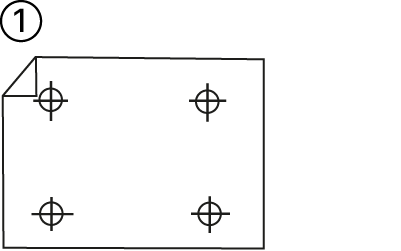
1 x drilling template (only on some models)
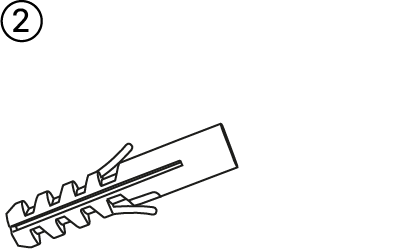
4 x wall plug
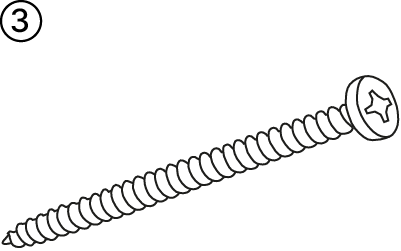
4 x screw
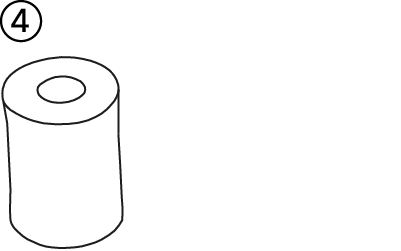
4 x spacer sleeves (only on some models)
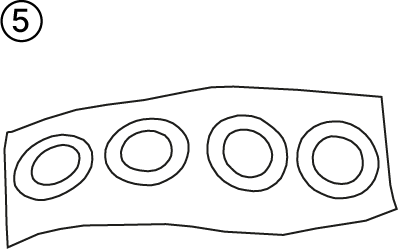
4 x adhesive pad (only on some models)
Tools required for mounting
spirit level
pen
mallet
screwdriver
drill (6 mm masonry drill bit)
Mounting
We recommend that two people carry out the assembly.
Align the drilling template (1) or mailbox with the spirit level at the desired location and mark the drill holes. Drill the marked points to a depth of approximately 40 mm using a size 6 masonry drill bit. Insert the plugs (2) into the drilled holes, using a mallet if neccessary.
Installation with spacer sleeves
For mailbox models where the mail flap would hit the wall when opened, the included spacer sleeves are required. They ensure the necessary distance from the wall.
Attach adhesive pads (5) to the spacer sleeves (4) and stick them to the back of the mailbox over the mounting holes. Then screw the mailbox securely to the wall. To do this, insert one screw (3) through the corresponding spacer sleeve (4) for each mounting hole and screw tight.
Installation without spacer sleeves
Mailbox models whose mail flap can be fully opened without requiring additional distance from the wall can be screwed directly to the wall. Use one screw (3) per mounting hole and screw tight.
Article No.: M0074-001, Last updated: October 2026